See what our readers have accomplished: Page 1 | Page 2 | Page 3 | Page 4 | Page 5 | Page 6
Channel back chair
Jenifer
Strickland
San Francisco, California
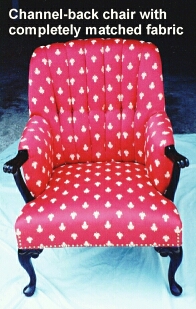
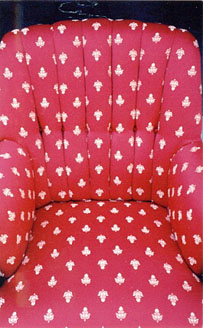
"The matching was a nightmare but it came out nicely, plus I created a very good substitute for aluminum piping tins out of a semi-rigid translucent sheet plastic. They're almost identical in shape, weight and handling, but they don't kink or dent, plus they're very inexpensive and nearly indestructible."
Size 22 buttons help hold the depth of the channels.
French natural nail heads were used around lower part of arms, seat base and pleats at front corners of the seat.
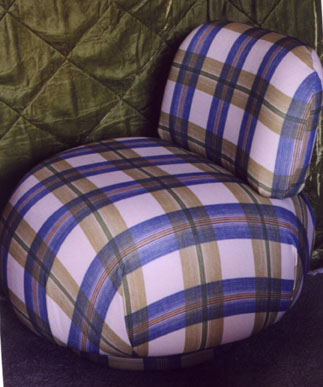
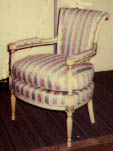
"I was surprised when I opened the package with my client's fabric
and found out that I had to put the biggest plaid in the world on the roundest chair, but I was
pleased with the result (and so was
she)."
Here's a few pieces recovered by
Mike Doyle
Verano Upholstery, Sonoma California
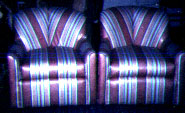
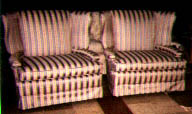
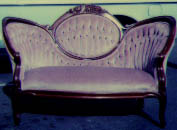
Check out the "chevron" pattern match on the bluish chairs.
End table
By Robin of Palmer, Alaska
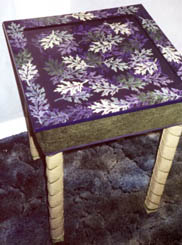
Needing an endtable and not happy with the shops in Alaska for their creativity in furniture, I decided to use my art/upholstery skills and made myself one.
I had only old wood, fabric scraps, and one cabinet door to work with. I built the frame up and then covered the legs in burlap, then wrapped hand painted spring twine around them for dimension. I then took upholstery fabric and covered the sides of the table and attached welt to the bottom of that for a finished look. The cabinet door I bought ( used for a $1) I painted and finished it with a polyacrylic. I then placed a piece of glass in the center.
Personally I was very happy with the end results. It's sturdy, functional, and different from any other endtable I have seen.
From Barry, Folsom PA
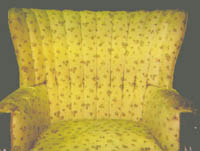
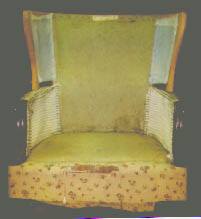
Barry wants to eliminate the channel back on this loose cushion chair and convert it to a wing chair without buttons.
The main problem is that the frame was made for the channel back which is all one piece and self supporting. The new back will be in three pieces- two wings and a inside back. Probably the easiest solution would be to add a 1" x1" or 1"x2" vertical board next to the existing frame support to provide a place to pull through the sides of the inside back, the back of the inside arms, and the back of the wings. Leave about a 1/2" opening. Use finishing nails, screws, or small "L" brackets to hold the new boards in place. Then recover like a regular wing chair. Pad inside back well and pull tight to avoid having to use buttons. Another solution would be to tack the inside back sides, the back of the inside arms, and the back of the wings to the existing inner frame, trim excess, and cover tacks or staples with double welt or gimp. You have to add trim around the exposed wood anyhow.
