
Instructions by Clay Richmond
Lets learn to rush a chair. Here is a list of what you will need.
- Rush
- Shuttle (optional)
- Box Knife
- Tack Puller
- Tack Hammer
- How-to book (optional)
- Card Board
- Tacks
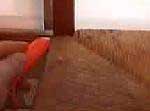
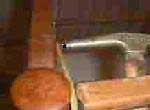
- Using your box knife remove the old rush. Cut along the side rails all the way around the chair frame. Use caution so you don't cut into the wood of the rails.
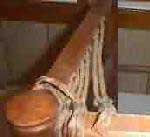
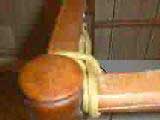
- You will notice that there are some tacks and some small pieces of rush on the inside of your chair frame. This is your starting point. Notice how the rush is on because you, want to accomplish the same pattern as the original.
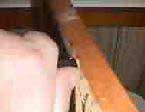
- Tack removal. Remove the old tacks with a tack puller.
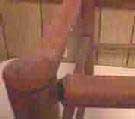
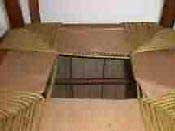
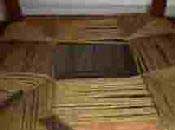
- This is what your chair should look like now.
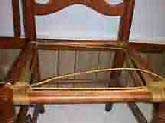
- First step. Tack the rush next to the hole where the old rush was.
- On the first wrap go over the front rail. Second go under the front rail and over the rush to your left. A good place to start is on your left working left to right. Keep it tight. One of the most important thing to do is keep it tight. Run your rush to you right rail and go over the side rail. Then go under to the front rail and run it back to the back rail. Go under, then over your back side rail then under the seat to the left side rail. Work your way back to the front.
- Your corner's should look like this.
- Keep it tight!
- Now you are seeing a pattern like this.
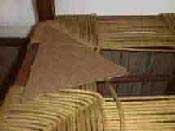
- Time to get out that card board and cutting them triangles.
- Place the card board under the rush. Stack the card board on top of each other, until the gap between the rush and card board is snug.
- As you are weaving keep the rush tight on all sides. You can use a screw driver to tap the rush snug.
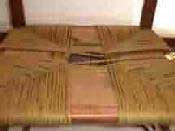
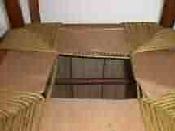
- Now you might be thinking, Hey there is less room on the, left to right than the up and down! This is normal. Keep weaving and soon we will be doing the bridge work.
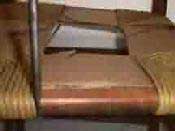
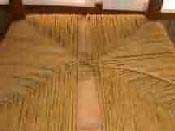
- Its now time to do the figure eight weave. All you have to do is weave the rush, front front to back. When you are done tack the rush under the seat to the back rail.
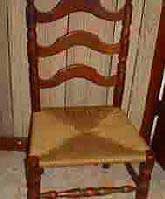
- Here's how mine turned out. Thanks and Happy Weaving!
-Clay Richmond
Visit Richmond Restorations