From Automotive Upholstery Handbook, by Don Taylor
(1993 Fisher Books; ISBN 1-55561-171-0; $19.95). Used by permission.Note: This is an edited text version of Don's excellent book. Also, due to the low resolution of computer monitors the photos are clearer in the book. So, purchase book below.
We're close to seeing the end of upholstered door panels. More and more door panels are being molded as one piece. If you damage something, you must order a whole new panel from the dealer. Inexpensive to make-highly profitable as a replacement part. An interesting side point here: if you built a $20,000 car off the lot from replacement parts, that vehicle would cost somewhere in the neighborhood of $250,000!
With auto parts being manufactured in one country and the vehicles assembled in another, there is less standardization. You'll find both metric and SAE fasteners side-by-side in the same vehicle. Be prepared, therefore, with enough tools to remove your various trim panels and pieces.
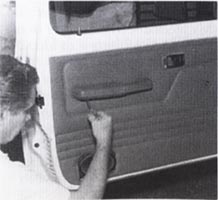
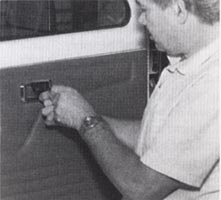
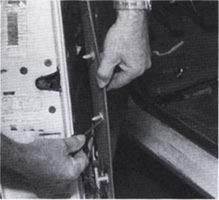
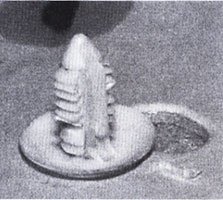
When everything is off, I can remove the panel from the door. It is held on with serrated plastic clips. These are released by prying them up with a screw driver. The important thing is to be certain the screw driver is directly under the clip shoulder. If you pry up on the fiber panel, it will surely break.
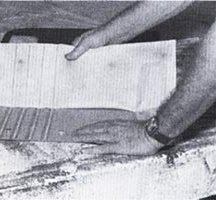
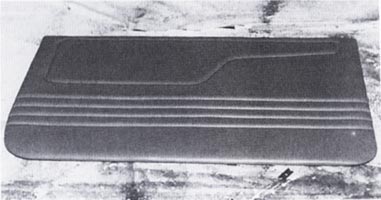
On this panel, the cover is molded to the fiberboard with a heat press and glued to the backside around the edges. Use heavy duty heat resistant spray adhesive. for door panels, vinyl tops and headliners. I began the removal by peeling the edge back from the fiberboard. Then I trimmed it off with scissors. Finally, I very carefully peeled the cover from the board.
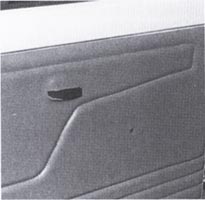
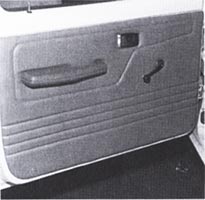
Besides not wanting to damage the fiberboard, I was careful in removing the cover so I could use part of it as a pattern. Note the fancy curved indent around the armrest and door handle. I want to reproduce this on the new panel so I carefully cut it out. Now it's a pattern.
As before, I bonded a piece of vinyl to 1/2" foam. Then, I laid out 1/2" pleats. To locate the "fancy curve" accurately, I placed the old cover over the new, aligning the pleats. Now I know where the curve goes. This was laid in with chalk pencil. Five minutes at the sewing machine and I had top-stitched the pleats and the curve.
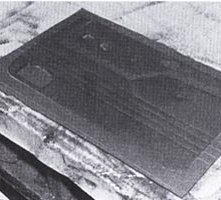
I began installing the cover by carefully centering the board over the back of the cover. This location is critical so the armrest and door handle come out in the right place. When I was sure of the location, I squirted a little cement between the panel and cover to hold things in place.
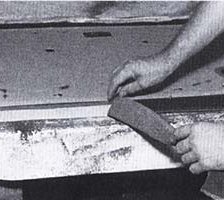
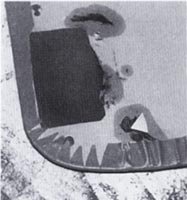
In the photo you see me trimming the foam to fit the edge of the board. I don't want to wrap the foam around the board because it creates too much bulk. Finally, I trim the edges of the material and cement them to the board. To reduce bulk in the corners I cut a series of "V" notches right up to the edge of the panel. You can see it makes a flat smooth edge.
Many of my trimmer friends cut out the holes for the window crank, door handle and other openings on the bench prior to installation. Usually, this works out fine. Once however... Well, I don't cut the holes at the bench anymore.
Temporarily mount the panel to the door by pushing two or three of the plastic retainers part-way into their holes. Now, feel for or observe, where the door handles protrudes against the material. Carefully cut a slot for it. A slot is better than a hole. If the hole is too big, the (escutcheon) cover plate might not cover the hole. Just be careful.

