How To Install Buttons
Safety is very important when installing buttons. Never push or pull the button needle towards your face. Be aware of where the needle is coming through so it doesn't go into your hand. The needle and twine often get hung up some in the filling and require a little pushing or tugging.
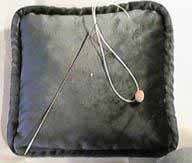
Use marking chalk, tacks, or pins with plastic heads to mark where your needle is to enter and exit pillows and cushions. String the wire eye on the button then put both ends of the button twine trough the needle eye. We often use an 14" needle when installing into the backs of furniture. Use strong nylon twine. Run the button needle through to the other side.

String another button on the left hand twine. Tie a slip knot and snug down as deep as you want it. If you are installing several buttons snug them down all at the same time so they are of equal depth. If you are installing through the back of a piece of furniture don't use a second button but rather tie the slip knot then slide in a wad of cotton or Dacron and then cinch down.
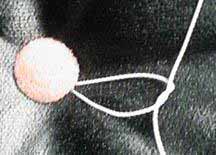
Next, tie the twine once and cinch down, then again to leave a tight knot.
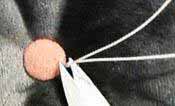
Go once around the button to the left with the left hand twine piece and bring the two ends close together. Then snip off the excess and tuck under the button with your shears.
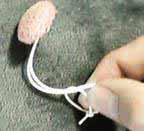
Here's another way to install buttons on pillows and cushions. After pulling the twine through tie a knot near the end of the left hand string then make a slip knot and snug it tight against the knot. Pull to the proper depth. "Yikes!" You say, "I only have one string now how can I tie off the button?"
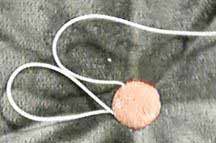
Make a loop, circle the button eye to the right and make a second loop through the first one. Cinch down the first loop come round to make another loop and cinch down, then go around and pull the loose end through tight. You only have one string to cut. It's much less bulky especially with certain fabrics.
On some benches and boat seats it is unnecessary to use a slip knot. Simply staple both strings to the board after going through the predrilled holes. Staple with the twine going one direction then fold back and staple again so it can't slip out.
Some antiques require nail buttons. You can make a nail button by cutting out the wire eye, making a starter hole and inserting a #12 or #16 tack through the hole. Place a small piece piece of cardboard over the tack head before making the button.
